Arroz en vaporera eléctrica
Hello everybody, it is Louise, welcome to our recipe site. Today, I'm gonna show you how to make a special dish, Arroz en vaporera eléctrica. One of my favorites food recipes. For mine, I'm gonna make it a little bit tasty. This will be really delicious.
Arroz en vaporera eléctrica is one of the most popular of recent trending foods in the world. It is appreciated by millions every day. It is easy, it is quick, it tastes delicious. They're fine and they look wonderful. Arroz en vaporera eléctrica is something that I've loved my entire life.
Many things affect the quality of taste from Arroz en vaporera eléctrica, starting from the type of ingredients, then the selection of fresh ingredients, the ability to cut dishes to how to make and serve them. Don't worry if you want to prepare Arroz en vaporera eléctrica delicious at home, because if you already know the trick then this dish can be used as an extraordinary special treat.
As for the number of servings that can be served to make Arroz en vaporera eléctrica is 4 raciones. So make sure this portion is enough to serve for yourself and your beloved family.
Just in addition, the time it takes to cook Arroz en vaporera eléctrica estimated approx 1 hora.
To get started with this recipe, we have to first prepare a few ingredients. You can cook Arroz en vaporera eléctrica using 3 ingredients and 8 steps. Here is how you can achieve that.
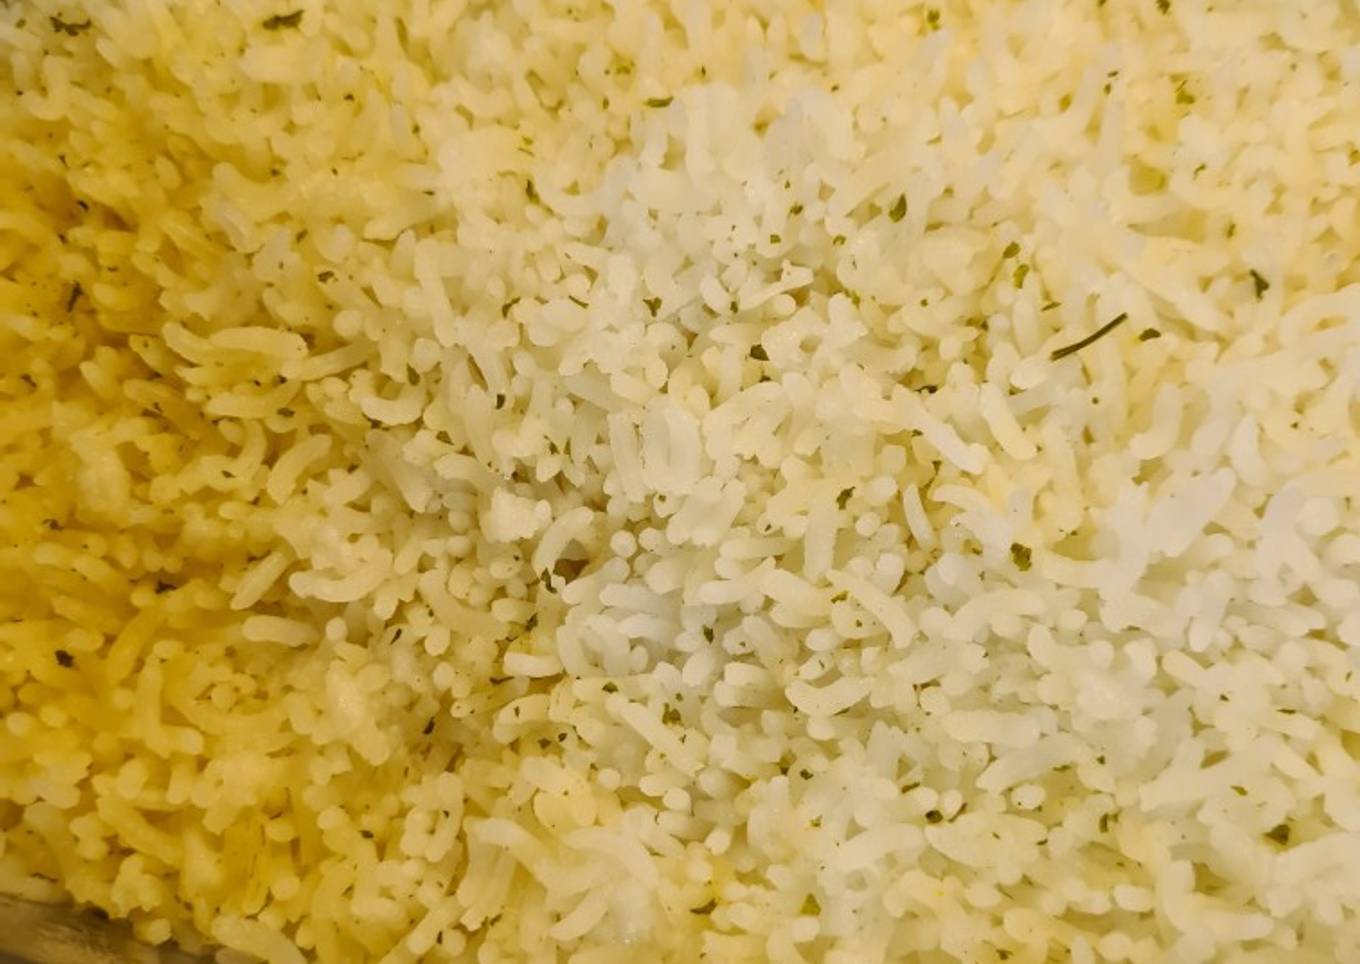
El arroz blanco, simple, es muy sabroso. Existen las arroceras, de procedencia oriental, que cuecen muy bien el arroz, sin embargo, también se puede guisar un suculento arroz al vapor, en este práctico utensilio eléctrico.
Ingredients and spices that need to be Take to make Arroz en vaporera eléctrica:
- 2 tazas arroz de 240 ml
- 5 tazas agua potable (misma medida)
- al gusto sal y aceite vegetal, si se desea
Instructions to make to make Arroz en vaporera eléctrica
- Para que el arroz salga vaporoso, es necesario ponerlo a remojar en igual cantidad de agua 2 horas antes de la cocción.


- Remojar las 2 tazas de arroz, en 2 tazas de agua.

- Al transcurrir el remojo, enjuagar el arroz, a chorro de agua, poner en la arrocera y agregar 3 tazas de agua potable, con sal disuelta y si se desea un chorrito de aceite vegetal. Llenar el depósito de la base con agua, hasta límite máximo.


- Armar la arrocera, charola de escurrimiento, base de cocción y dentro de esta, la arrocera, tapar y encender ajustando tiempo a 50 minutos.


- Vigilar que el nivel de agua del depósito, no baje de nivel mínimo, de ser así agregar agua por el orificio de llenado, según el tiempo que reste de cocción.
- Una vez que la vaporera se apague, dejar 10 minutos de reposo, sin destapar, transcurrido este tiempo, abrir y desgranar. Ya puede ser servido, como guarnición o plato de inicio.

- El tiempo de elaboración está calculado, sin tomar en cuenta las 2 horas de remojo.
- Las instrucciones de la vaporera, mencionan, que se condimenta el arroz, al momento del desgranando, sal y/o aceite. Pero nosotros lo hacemos, al agregar el agua en la arrocera, sal, previamente disuelta y un poco de aceite de canola.
As your experience and confidence grows, you will discover that you have much more natural control over your diet plan as well as adjust your diet plan to your personal tastes in time. Whether you want to serve a recipe that makes use of fewer or even more active ingredients or is a little bit essentially zesty, you can make easy changes to attain this objective. In other words, begin making your recipes on schedule. When it comes to basic cooking skills for newbies you don't require to discover them but only if you master some simple food preparation strategies.
This isn't a full overview to quick as well as very easy lunch recipes yet its good food for thought. Ideally this will certainly get your creative juices flowing so you can prepare tasty dishes for your household without doing way too many heavy meals on your journey.
So that's going to wrap this up for this special food Easiest Way to Make Super Quick Homemade Arroz en vaporera eléctrica. Thanks so much for your time. I am confident that you will make this at home. There's gonna be more interesting food at home recipes coming up. Remember to save this page on your browser, and share it to your loved ones, colleague and friends. Thanks again for reading. Go on get cooking!


Comments
Post a Comment